Intro
Looking for a Beginner's Telescope? Let us help You!
Chapter 1
Chapter 2
Chapter 3
Now you need to mount your scope!
Chapter 4
Accessorise, Accesorise (with eyepieces and filters)
Chapter 5
Chapter 6
Caring and Collimating your Telescope
Chapter 7
Solar Observations and a How-To guide on making a solar filter

So you’ve got the hang of how a telescope works and can perhaps identify a deep sky object or two. Mesmerized by the beauty, you plan to take on astrophotography but don’t know where and how to start. In this section of The Beginner’s Guide to Telescopes, we will go through some facts and tips to get you well on your way to capturing a perfect picture of the night sky.
PLAN YOUR LOCATION
To get a good picture for astrophotography, you need to pick a dark location with little to no light pollution at all. This will make it easier for you to locate your subject and bring out more details of the night sky for a better final result. You can use the Light Pollution Map website to see the lighting conditions around you and pick the best location.
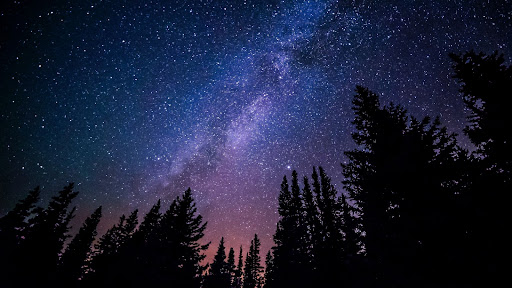 (Credit to Ryan Hutton via Unsplash)
USE THE RIGHT CAMERA SETTINGS
For colour image astrophotography, DSLR or mirrorless cameras are recommended. Before you can shoot you need to make sure you have the correct settings in place. Here are some quick tips to set up your camera:
1. Use Manual mode
This is a must since manual mode will allow you to tinker around with the settings in your camera.
2. Manage your ISO
The ISO determines your camera’s sensitivity to light. Higher ISO equals higher sensitivity which can reveal more stars in your pictures while sacrificing the image quality.
3. Adjust your aperture
This is a tricky one and it ultimately depends on the camera and lens you are using. The gist of the matter is that lower aperture settings will help you get sharper images but at the same time it limits the amount of light your camera can take in.
4. Check your shutter speed
A slower shutter speed allows more starlight to be collected resulting in better images. However, any slight movement can instantly ruin the end result.
USE THE RIGHT TOOLS
They say "tools maketh the man". For astrophotography, the tools you use do matter and it is just as important as picking a good location and using the correct camera settings. Below are some tools and equipment that we think will greatly improve your astrophotography game:
1. Use a stable tripod
Previously in this guide series, we have explained the different types of telescope mounts and what they are used for (click here to check on our telescope mounts). Basically, we recommend using an EQ mount for better stability when tracking a celestial object. If you want to go even further, you can consider using a motorized EQ mount with GoTo functionality like this mount below to make things even easier.
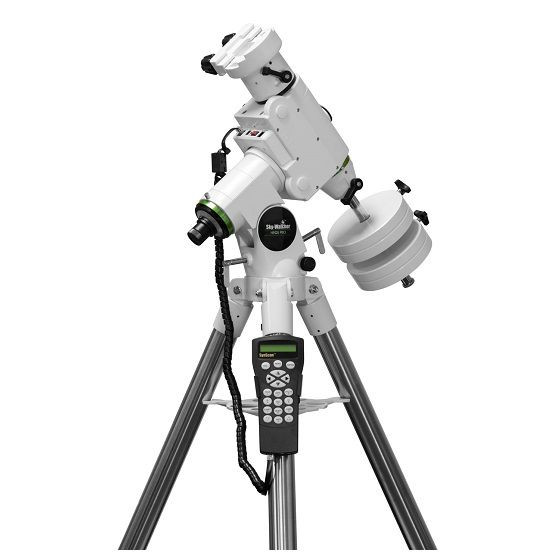 SkyWatcher HEQ5 Pro GoTo Mount with Steel Tripod
2. T-Ring
To connect your camera to the telescope, you will need a T-Ring. This attachment will go onto your camera’s lens groove before connecting to the telescope. Here at OZscopes, we stock T-Rings for most of the major DSLR brands which you can conveniently browse through right HERE.
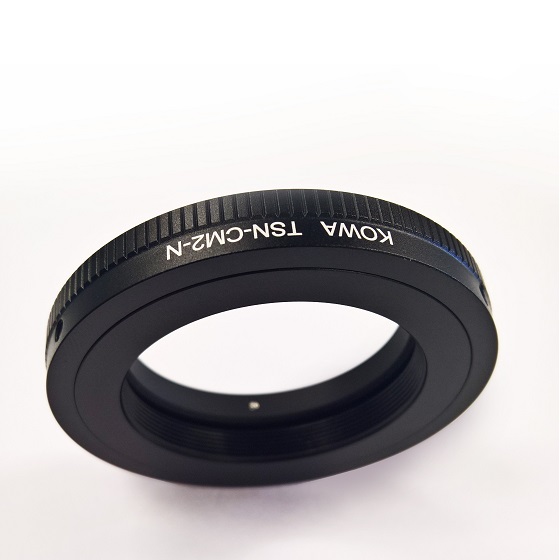 Kowa M42 T-Ring for Nikon-F Mount
3. T-Adapter
Next up is the T-Adapter. It connects to the focuser of your telescope which will then connect to the T-Ring attached to your camera lens. It should be noted that different T-Adapters cater to different types of telescopes. Lucky for you, we have a variety of T-Adapters for sale at our store right HERE.
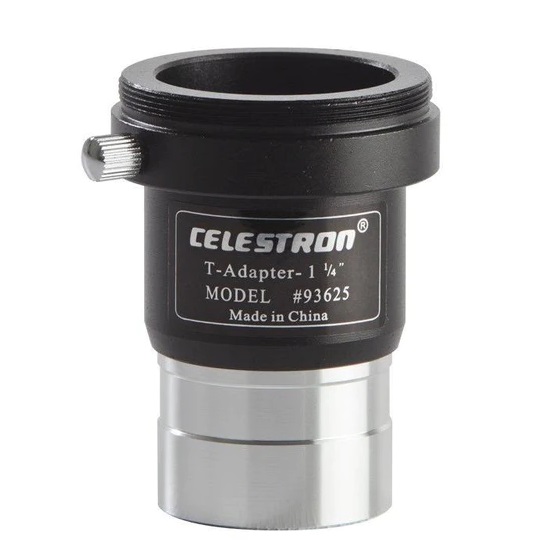 Celestron 1.25" Universal T-Adapter
4. Universal Camera Adapter
Lastly, we have the Universal Camera Adapter. If you want to convert your standard point-and-shoot camera for casual astrophotography, you can do so using this tool. With the Universal Camera Adapter, you can get a more stable shot out of your camera rather than just using your hand. One great choice for this is the Celestron Universal Digital Camera Adapter.
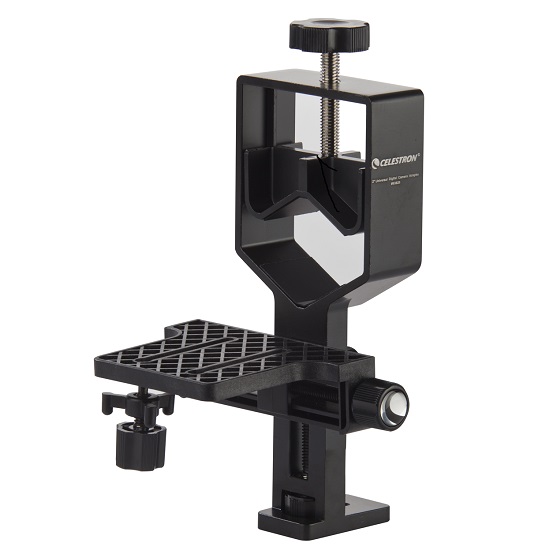
WARNING: When you connect your digital camera to your telescope, regardless of whether you're using a Universal Digital Camera Adapter or a T-Ring and T-Adapter combo, be very careful after you attach the telescope and camera together. The weight of your camera may throw your telescope out of balance, and it may topple over.