


OZHut Network Of Stores - OZScopes.com.au
OZScopes.com.au is part of the OZHut family which is a constantly expanding network of stores focusing on serving the niche markets, which OZScopes.com.au is a member of.
Customer Service
Company Info

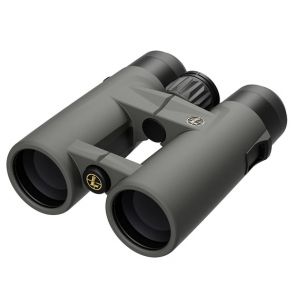
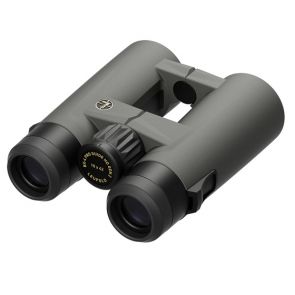
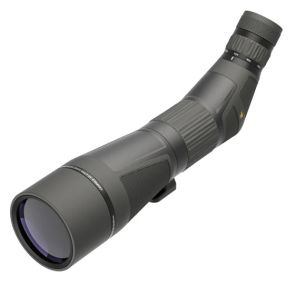
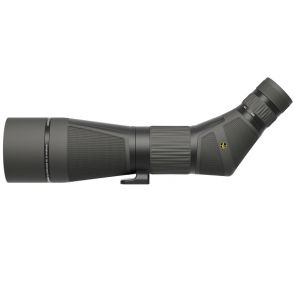
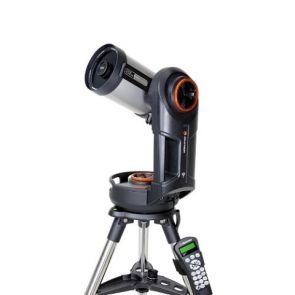
OZScopes is a premium optics shop based in Croydon South, Victoria. We supply all types of telescopes, sport optics, and related accessories at affordable prices. All our products sold are genuine and fully-backed by an Australian warranty. Shop with us today!
